Hey Dolls,
Just a quick and simple post to teach you girl on how i did my Minnie mouse nail art and thanks to those who liked the picture i posted on my facebook page... Anyway i must it's really easy to do and you'll have fun doing it and if the design doesn't come out that perfect don't worry just keep practising and trying and you'll be perfect :) So let's get started ......
What you need: Base Coat & Top Coat , Red nail polish, White nail polish and Black nail polish, A dotting tool , toothpick or bobby pins and some french nail strips.
Steps:
- Paint your nails with a base coat as it helps protect your natural nails from the harsh nails colours.
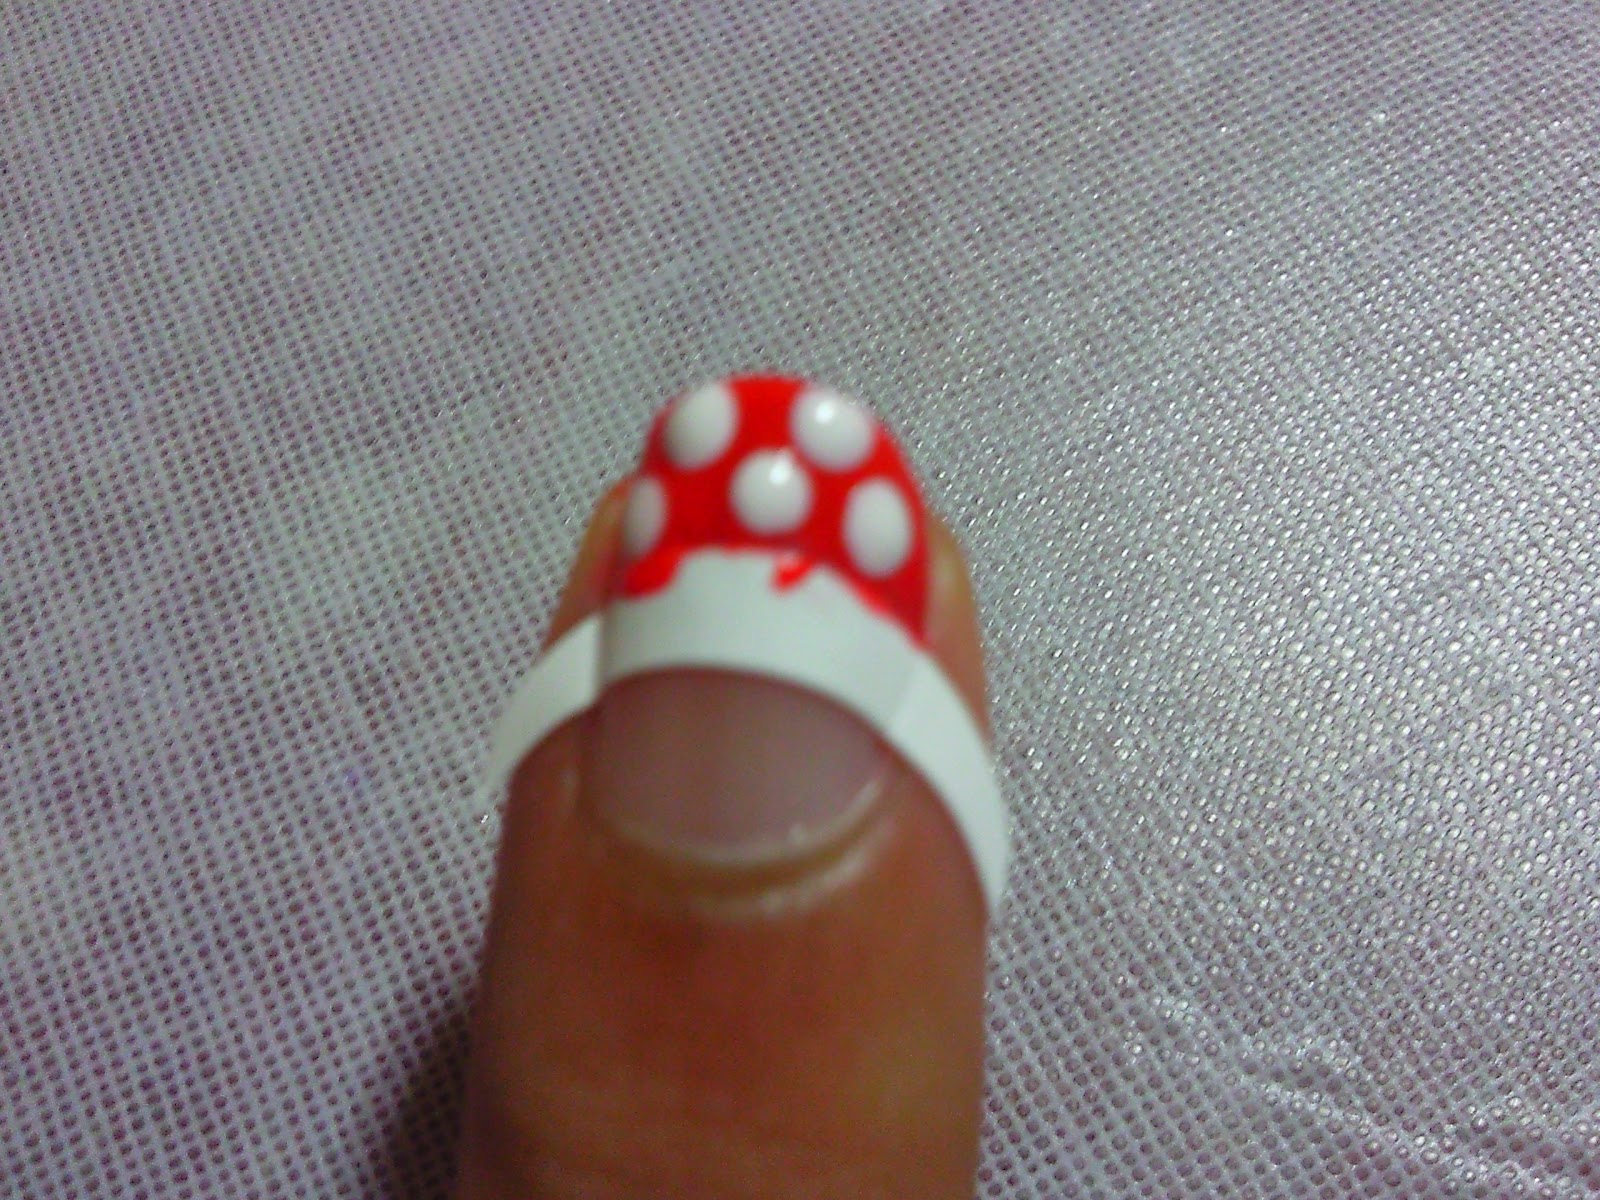
- Then with the help of the french nail strips, paint the tips of your nail red.
- Now add white polka dots to the red, using the dotting tool or a bobby pin, make use you space the dots out evenly.
- Next use the small dotting tool or a toothpick, to create a black dot for the middle of your bow.
- Draw a line further out for one side of the bow.
- Connect the line to the dot, by filling in a triangular shape and do the same for the other side.
- Finally add a top coat and that's it you got your very own Minnie Mouse Nail Art...
For some help these pictures may help you out along the way :)
Hope you girls do try it out and let me know how it went :) xx


No comments:
Post a Comment
Thank you for leaving your comments on my page,
leave your URLs below, for me to reply. Have a great day !!