Peacock Inspired Nail Art
Unknown
April 30, 2012
2 Comments
Hey Dolls,
For the weekend i did my long awaited and requested nail tutorial - Peacock Nail Art. Since i finally bought the required nail colours for it, i thought i should give it a go, and the photos below are all done on my my first try and must say that i did get pretty good compliments on my Facebook page :)
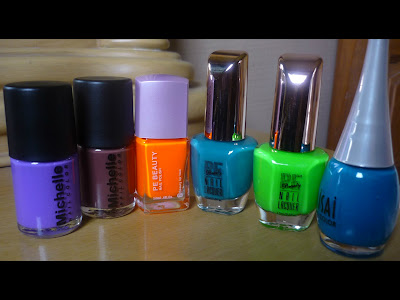
Product Used
♥ Turquoise nail polish by Nail LACQUER
♥ Gold nail polish by Constance Carroll - Sandcastle
♥ Blue nail polish by Aisai
♥ Dark Blue nail polish by The Face Shop
♥Dotting Tool
♥ Toothpick
Steps:
Apply a base coat to help protect your natural nails.
Start off by painting your nails a solid turquoise colour.
Then using your dotting tool, take some Gold colour to create some large circles.
Next go in with the Blue polish and create small circles.
The final circles will be smaller Dark Blue ones on top of the Blue circles.
And the last step is to take a toothpick with the turquoise nail polish and create a small line at the bottom of the dark blue circles.
Finally add a top coat to protect your design & that's it :)
 |
 |
| Step 1 |
 |
 |
| Step 2 |
 |
 |
| Step 3 |
 | ||
DarkBlue nail polish
|


