November 16, 2012

Bio Oil Review

November 16, 2012 0 Comments


Many may have read, seen or heard about this product called Bio Oil. As a first time user of the product, I thought I will share my opinion and the ways it has proven me with results
 
Suffering from sensitive skin has left my legs and arms with scar marks which kept me away from wearing shorts, skirts and dresses because I would get very uncomfortable showing my ugly scars in public.  I tried numerous products but none was able to provide me with a satisfied result and that was when my cousin introduced me to Bio Oil. She told me it helped her with her scars and I should give it a go. Not wanting to feel disappointed from another product, I went to search for reviews and to my surprise, there were so many positive reviews on the product. So I went ahead to purchase one from Watsons (local drugstore)$15.50/-.   At first I did not think it would work, eventually I did notice my scars fading and the marks would get lighter with application of twice daily as stated on the packaging. 
 
By the name, its obvious that its oil base, application on the skin is easy as the oil is not sticky.  It is safe to use on the face which helps smooth out uneven skin tone, ageing and dehydrated skin.  A tip to note, apply the oil at night before sleep to notice a slight difference the next morning. 
 
I have been using the Bio Oil for two months with regular application and I do think the possibility of clearing away my scars stands a high chance, do note that results may vary on the individual, so be patient and eventually you too will see results..

Till my next post!!


October 27, 2012

Liquid Eyeliner Review

October 27, 2012 0 Comments


When it comes to buying liquid eye liners I prefer to stick to the brands I am most familiar with. However, last week when I was out shopping  with mum at Mustafa, I came across this particular section in the store, where most of the inexpensive eye liner brands were selling at a really cheap price.  So me being me, I picked out three just for a try out to  see how well they work.  Out of the three I purchased I really like two which I may consider re-purchasing them. The Constant Carrol (UK) and Alobon Perfect Soild Eyeliner Pencil. Lets get down to the review..

The Constant Carrol (UK) Quick Stroke liquid eye liner might look small in terms of packaging (See picture above).  The fine tip brush provides smooth application and you don't have to worry about making a mistake along the way, as adjustments can be made fast without having to wipe everything off, the best part its long lasting and waterproof. The only downside is that, it does take awhile to dry so you might want to apply the eye liner last when doing your makeup.  

The Alobon Perfect Soild Eyeliner Pencil on the other hand has to be my favourite.  I have never supported an unknown brands before, but this product really did stand out. With its fine pen tip, it  allows me to adjust the thickness of the line and helps me get the perfect for cat-eye look. The colour is also very pigmented and long lasting.  The only downside of this product is that its NOT waterproof and removing the liner does take awhile to come off. 

Lastly as for the Alobon Long-lasting & Waterproof  eye liner I do not have much to say. Application is surprisingly easy, however the product does not stay very long and needs touching up very few hours even though it says long lasting


October 11, 2012

Weekend Nail Art Tutorial - Polka Dot

October 11, 2012 0 Comments
Hey Dolls, 
I know I'm suppose to blog about my weekend nail art tutorial last week but I was a little under the weather and wasn't able to, so as promised here it goes.  Anyway this design I'm gonna show you, isn't something I created out of the bloom but it's actually from MissJenFABULOUS who is a beauty guru on youtube and she does the most amazing nail art designs that are super cute and easy to achieve. So lets get started: 

What you'll need:

❤  7 nail polish colours of your choice
 A dotting tool
 A top coat

Steps:
  1. Out of the 7 nail polish colours you have chosen, select 1 and start off by painting a base colour of your choice, I chose Baby Blue from Michelle.
  2. Next taking a dotting tool,dip into the colour you wanna start off and randomly place the dots on your nails. Once that's done continue with another colour and so for.  Note: this design concentrates mostly on the cuticle area of your nails so the dots should be evenly placed. 
  3. Lastly finish off with a top coat to seal in your design. 


the final look


October 1, 2012

New Things #3

October 01, 2012 0 Comments

Hey Dolls, 
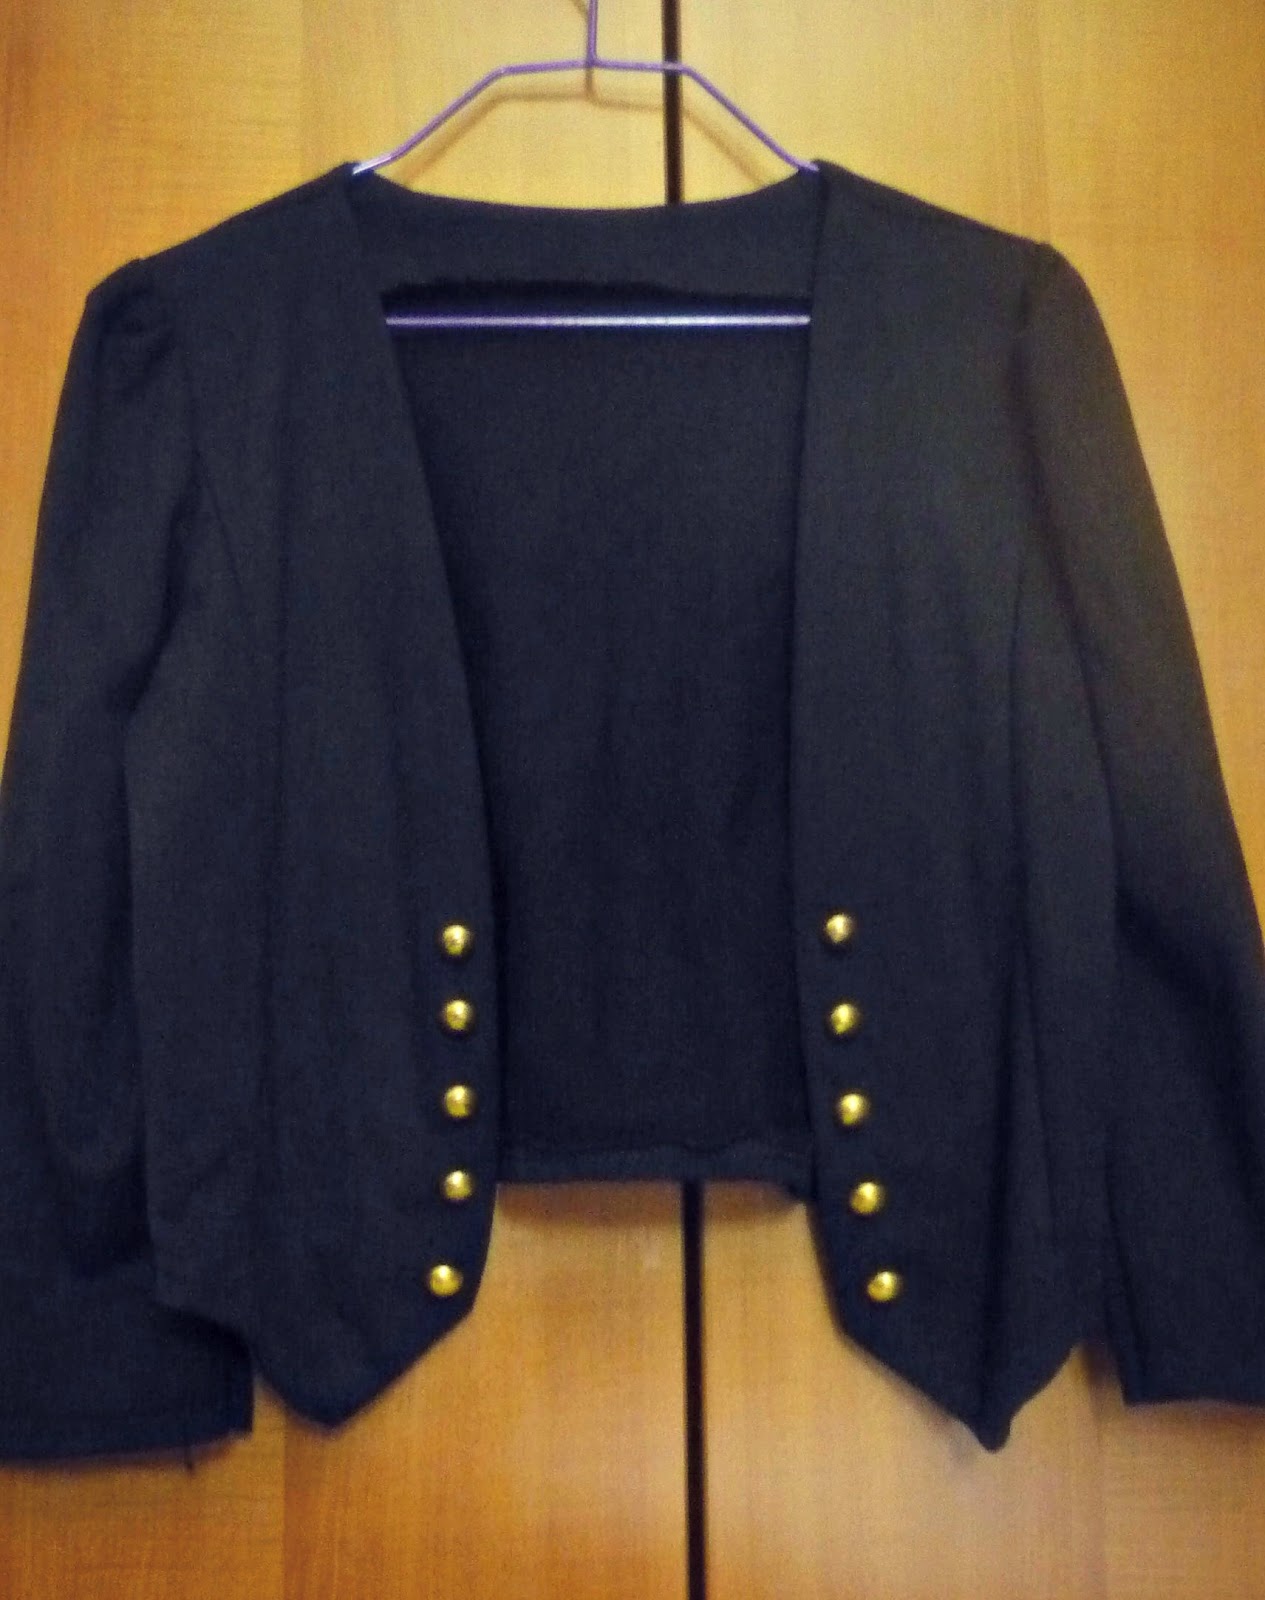
Just a really quick post on the stuff I bought in the month of September. It's not much since these items were bought from sales or on mini shopping trips with my girls.  I have placed the store names on the caption of each picture, in case you too wanna know where I bought them from . 

♥ Jackets


 from Tampines Mall 


 from Isetan 
 Tops
 from Bugis Street 


 from Forever 21


 Peplum Tops


 from New Look

 from Cotton On

 from Cotton On


 Sleeveless Tops 


 from Cotton On Body 


 from Dorothy Perkins

 Socks


 from Daiso 
 Books 


 from Kinokuniya

September 19, 2012

Nail Art Strips

September 19, 2012 0 Comments
Hey Dolls,
So ever since my friend bought this nail art strips and saw how quick and easy it is to apply them on your nails without creating a huge mess, I have been pretty obsessed about them.  The first store I went to find them was Watsons knowing that they will carry these amazing products especially the Sally Hansen ones called the Salon Effects, I did see lots of beautiful designs but they were pretty expensive as the ones my friend had bought from a nail accessories store.  So leaving me no choice, I went over to the nail accessories store and bought a few strips at a slightly cheaper price, even though the designs were not as beautiful as the Sally Hansen Salon Effects.  But at the nail accessories store I found a design that lots of girls would just rush to buy it :) (see picture below). Anyway once back home, I could hardly wait to try them so by reading the guidelines and following the steps, I manage to complete my nails within 10mins (really impressed) then my usual hour routine (when I'm trying to get the design right). I do have to say that whoever came out of this idea is absolutely brilliant and thank you for saving me lots of time.  The plus point of these nail strips is that I don't have to use a nail remover as the sticker simply comes off your nail once it loses its stickiness. Mine lasted me about 10-12 days. I highly recommend this nail art strips to anyone who hasn't try them cause once you do you'll love it :)


These are my favourite ones :) Chanel 


September 4, 2012

'Get to Know Me ' Tag

September 04, 2012 0 Comments

Hey Dolls,


So some of my favourite post to read are the 'tag posts' as I like finding out the person and their preferences on beauty products,clothes, accessories ect. Well I have seen this tag appear on many blogs, so I thought I would give it a try myself :) Ps. I tag everyone out they to try out this tag and let me know if you did try..
Here we go:


1) Are you named after anyone?
Not anyone famous, but my middle name Seema is from my grandmum.

2)When was the last time you cried?
Last month, lol after a fight with my mum and brother...

3) Do you have kids?
No

4) If you were another person, would you be a friend of yourself?
Of cause, Yes I would as we'll have lots of fun moments and lots of things in common to talk about :P

5) Do you use sarcasm? 
No. But if it's someone I can't stand than I will.. 

6)  Will you ever Bungee Jump?
No. I have a fear of heights (Huge fear)

7) What's your favourite cereal?
Honey Stars from Nestle :)

8) What's the first thing you notice about people?
Confidence - the way their carry themself among the crowd.

9)What is your eye colour?
Brown

10) Scary movie or Happy endings?
Happy endings

11) Favourite smell?
Chocolate or anything Sweet

12) Summer or Winter?
Summer

13) Computer or Television?
Computer

14) What's the furthest you've ever been from home?
My last trip to Sri Lanka for a month

15) Do you have special talent?
I'll have to say its dance and craft

16)Where are you born?
Singapore

17) What are your hobbies?
I have tons but the most favourite would have to be cycling, shopping, swimming and dancing.

18) Do you have any pets?
Currently no but I used to have a pet Cat and her 8 kittens of two births :) miss Mimi so much :(

19) Favourite movies?
Tangled, Transformers etc. I have tons of favourite movies just too long to write 

20) Do you have any siblings?
2 brothers and a sister 

August 30, 2012

Weekend Nail Art - Cloud Design

August 30, 2012 0 Comments
Hey Dolls,

Just wanted to share with you girls my nail art design for this weekend. The design is an inspiration of  the clouds.. I first saw this design on youtube and then I saw lots of pictures of the beautiful design and I thought I should give this a try since lots of girls are doing so.  The best part is, its so cute, super easy and fast to do. So why WAIT & lets get started :)

What you'll need :

A top & base coat

A blue nail polish (solid or sky colour) 

A white nail polish 

A dotting tool or a bobby pin 

A fine nail art brush 

Steps:


  1. Start off by painting your nails with a base coat to protect your natural nails.
  2. Then paint your nails with a sky or solid blue.
  3. Next taking your dotting tool, dip into the white nail polish create 3-5 dots beside each other to form the cloud shape. (See picture below)
  4. Finish off with a top coat and there your very own cloud nail art.  But if you feel that it's kinda a simple and wanna give the design a little jazz up, then continue to follow step 5 onwards (below).

5. Now that I have my clouds design all done, I like to add a heart shape and a rainbow to the design.  So now take your dotting again, create two small dots next to each other.

6.  Then using the nail art brush draw a C or a V shape on both sides of the dots created. This gives an outline on how the shape will form.

7. Finally fill in using a dotting tool. And apply a top coat to protect the design. 


8.  Lastly to create a rainbow, use a nail art brush and create fine lines across the clouds. (see picture below)


Follow Me @seema.dias

@seema.dias